So much to do and so little time. And that’s not completely true. Very few of the boat projects are urgent.
Big/urgent projects
Coolant hoses
One project is urgent: replacing a failing coolant hose on the Westerbeke engine. The failing hose is leaking coolant which is pooling under the engine. I’m soaking up coolant and disposing of the rags every couple of days. (The entire engine space is a bit filthy so I bought a small steam cleaner to loosen the gunk. That should make it easier to wipe down the engine and clean the surrounding space.)
As of yesterday, I have a replacement hose and clamps. I need to pick up some pre-diluted coolant and extra rags. I have plenty of buckets on board the boat, a couple of lanterns to illuminate the work area, and a headlamp for more focused lighting.
If the Westerbeke hose isn’t quite right, I’ll take the failed hose to Napa and see if they have something on the rack that would work.
To replace the hose, I’ll need to shimmy underneath the cockpit via the port lazarette. That lazarette hatch cover could close but I don’t think it can latch itself. Nevertheless, I’ll tie the hatch open. I will also take the cabin steps off for more light and air where I’m working. And my spouse will be on board in case something untoward happens!
I have a complete hose kit back-ordered from Westerbeke. Some of the hoses look relatively new. The bad ones seem to be on the aft end of the engine where it is difficult to see them and to service them.
I don’t think I’ll backflush the engine at this time. Since I’m having the boat pulled out in June for keel and rudder work, I might ask the folks doing that work if they would backflush the cooling system, change the filter in the fuel pump, and check the injectors.
Hatch
One of the tougher decisions has been choosing a new hatch instead of repairing the old hatch. The price quote I got for repairing the old hatch was about the same (with shipping) as buying a new hatch. I was attracted to the idea of keeping the old hatch on the boat, but guess what: even after repairing it, it would still be an old hatch. Instead, I chose to buy a new hatch. I’ll keep the old hatch for a while as a backup because I might be able to make the repair myself if there is no pressure to get it back on the boat quickly.
Replacing the main hatch is probably going to be an all-day project. I’ll have to remove the old hatch which, I’m guessing, is original to the boat. That will entail unscrewing the old hatch, carefully prying it up out of the bed of sealant, scraping off sealant, and cleaning up with acetone. This will give me a chance to see if the screw holes show wet coring in the deck. If they are wet, then I’ll cover the whole thing with plastic (with some sticks underneath to provide air space for the screw holes) and let them dry out.
I’ll wait on all of this work until the new hatch arrives. The hatch opening appears to be a standard size but being able to put the new hatch directly on top of the old hatch and measure actual sizes will be very helpful. If I am really lucky, the mounting holes for the new hatch will exactly match the exist screw holes…but I’m not holding my breath on that happening.
The hatch “glass” is badly crazed. It looks like you could lean on it and go right through. I don’t know how thick it is (probably quite thick!) so I can’t judge how strong it is. (We didn’t realize how bad the hatch was when we bought the boat because the dinghy was covering it.) One corner of the glass is damaged, as is the seal between the glass and the hatch frame. This is where the hatch has been leaking during heavy rains. The previous owner had actually marked the location inside the boat with a small arrow drawn in pencil. That was helpful.
Unfortunately, the new hatch is back-ordered. Fisheries Supply tells me it is about five weeks out. I had stuck some Gorilla tape over the exterior of the damaged hatch corner to try to stop the leak and it helped, but it didn’t eliminate the leak. Postulating that the hatch glass was acrylic, I bought some superglue (cyanoacrylate) gel and liberally applied it to the glass corner and the damaged seal. (Why superglue? Because it softens the acrylic and creates a strong chemical bond. Permabond says all grades of cyanoacrylate bond well with acrylic. While not normally recommended for gluing acrylic, it seemed to me that some gel superglue might fill the gaps in the damaged acrylic hatch glass and thus seal the leak.) I used my finger — inside a nitrile glove — to squeegee the gel into the cracks and voids.
That seems to have done the trick, at least for now. It’s not pretty but it works. We’ve had several rainstorms since then and the bucket underneath the hatch hasn’t captured a single drop. Today, I removed the bucket. Even if the hatch is delayed all summer, we’re in okay shape. We can use the boat with the glued hatch. (Well, the whole hatch isn’t glued, just the hatch glass in one corner. The hatch still opens and closes.) After all, if it leaks again, I have plenty of extra glue on hand!
I assume I’ll want to use 3M 4200 sealant to bed the hatch so that it can be removed at a later date, but advice on sealants will be much appreciated.
Topping lift system
I’m using the same vendor that the previous owner used for a new topping lift cable (“boom lift”) and boom hangers. That vendor’s records show that the lift and hangers were replaced in 2004. They are overdue for replacement.
This is going to be a big deal, at least for me. The existing topping lift cable is quite rusty and that reduces my confidence it in quite a bit. On a Nonsuch, the topping lift cable is a crucial part of the system. I’ll need a rigger to do this work for me.
And then there are the blocks and lines in the topping lift. Some of the blocks look original to the boat. The cheek block on the aft end of the boom certainly is. I’ve ordered new blocks for the aft lift and new blocks for the forward end of the boom and at the bottom of the mast. I also ordered new line that is slightly larger but the old line is so frayed that the new line actually looks slightly smaller!
The forward blocks and mast blocks are Garhauer double blocks. The existing topping lift system does not provide much mechanical advantage with a double block above and a single block with becket below. I’m replacing those with triple blocks: a plain triple block above and a triple with a becket below. My plan is to use all three wheels on the upper block and only two on the lower block. I chose the triple block with becket because the becket on the double block is offset while the becket on the triple block looks like it is centered.
I’ve received the new double blocks and the new line. Garhauer called me and said they are waiting on the triple block with becket.
The rope clutch on the cabin top is on its last legs so I may need to replace it.
Electrical
I’ve covered electrical projects already: https://svnarwhal.us/2022/electrical-projects/. Those projects will keep me busy this summer!
Halyard winch
The old Barient 18 two-speed winch on the portside cabin top is in very rough shape. (In the photos below, it’s the winch with the red line on it.) There are bits and pieces coming out of the bottom, along with excess oil that had been applied to the winch. The tailing piece on top of the winch is dried out and cracking.
I suspect that by the time I import the parts needed to repair this winch, the cost would be about the same as buying a new winch. I think it’s time to replace it.
I already have an Andersen 28 self-tailing winch on the starboard coaming so I’m thinking it makes sense to buy a new Anderson 28 ST as a replacement for the Barient 18. It doesn’t make sense to me to add a third manufacturer to the small list of winches on board.
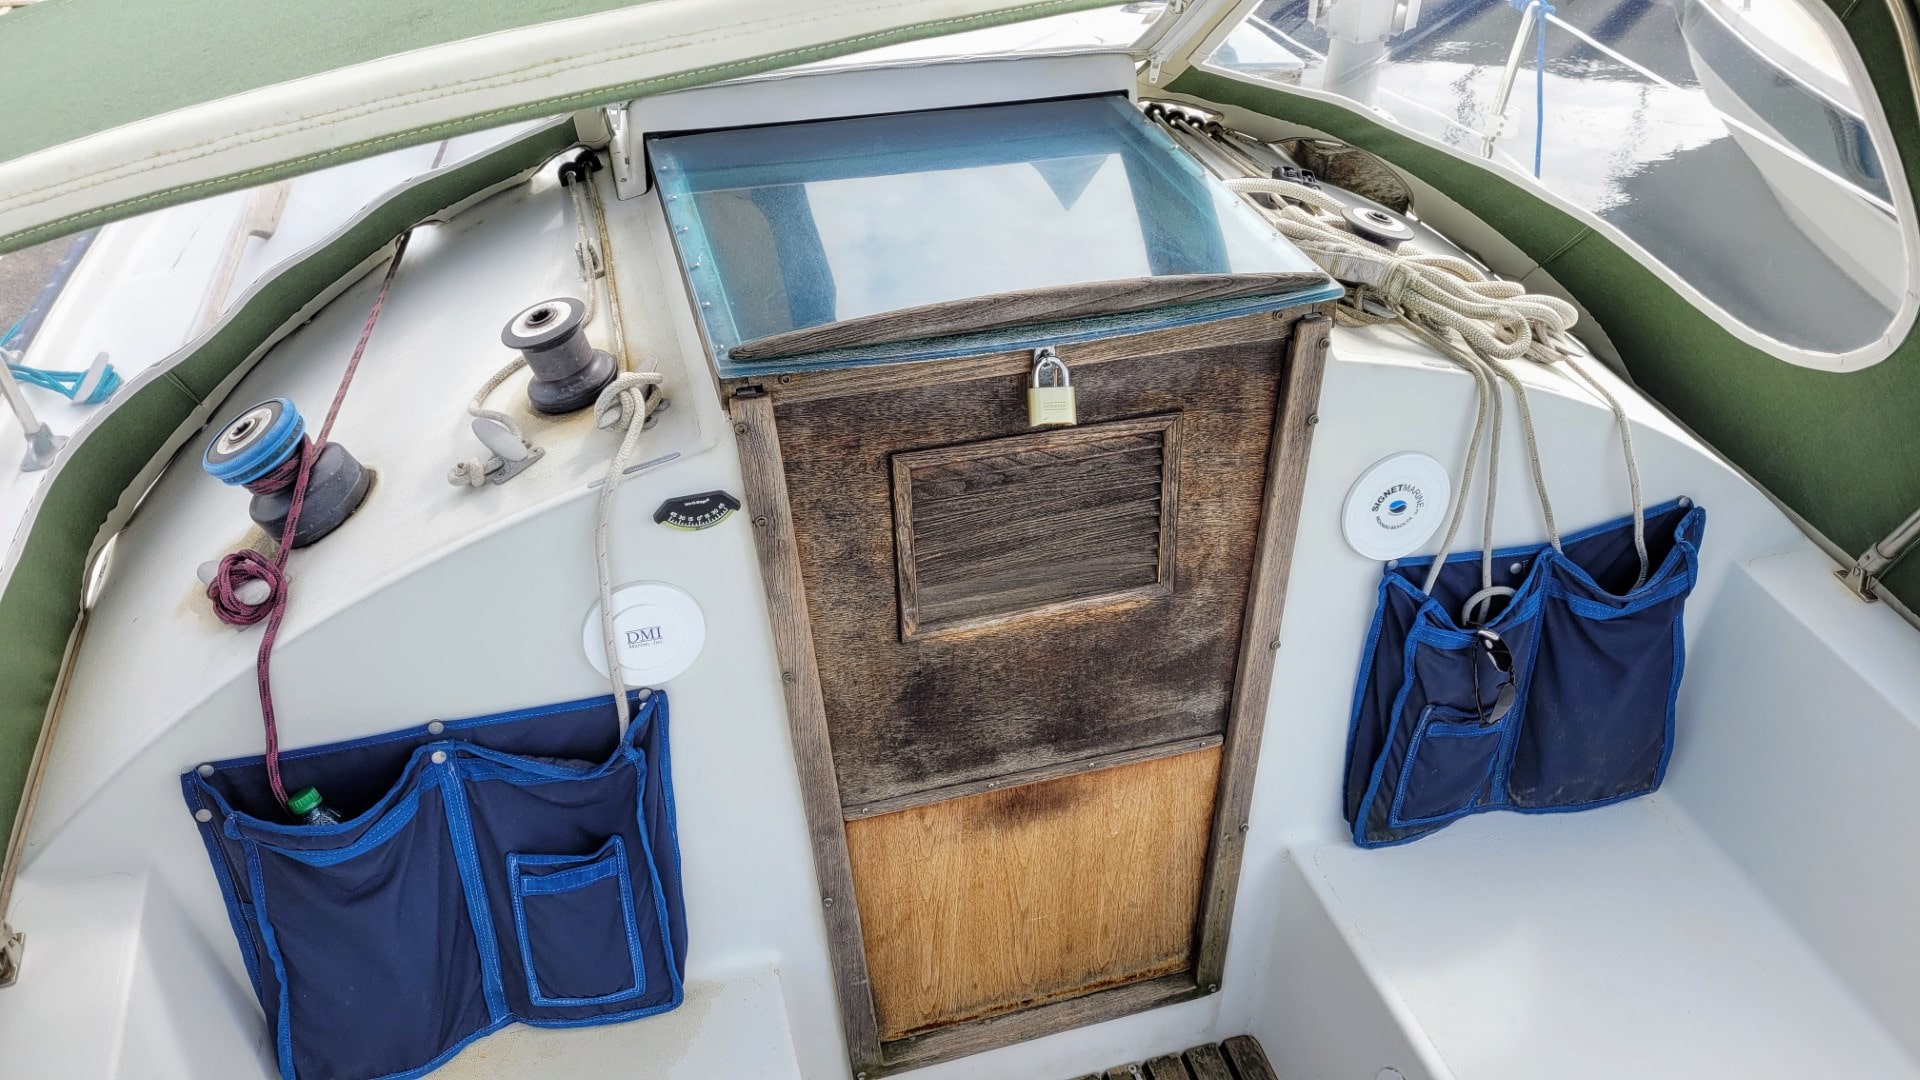
(In the landscape photo of the cabin roof under the dodger, you can probably see another project in the making: refinishing the companionway door panels! That is a good segue to the smaller projects on the list.)
Small projects
Interior cleanup
The previous owner sailed with a dog and we are finding hair in every nook and cranny. I’ve decided I need to get some car detailing brushes and start at one end of the boat with brushes and a vacuum cleaner. After we get the hair out, then we can begin cleaning the mold-and-mildew spots. There aren’t many nasty spots in the boat but there are some.
The curtains and cushions all need cleaning. We’ll wipe down all the hard surfaces (visible and hidden) we can reach. My handheld steam cleaner will help us kill some of the stuff that is growing here and there.
We also added a dehumidifer. Running that for the past month has made a huge difference in the odor and mustiness of the cabin. My guess is that drying out the boat has stopped the growth of nasty things. I think if we can get the hair and dirt out of seams, cracks, and crannies, and get the mold knocked down, and clean and sanitize everywhere we can reach, the boat will be a more pleasant place.
Lifeline stanchions
Several of the lifeline stanchions are missing screws. A few of them I can simply lift out of the mounting socket. I have replacement machine screws in two different lengths ready to go for this work. This will be a slow, calm day kind of project, nice and small but satisfying to finish.
Outboard motor mount
I’ll need a place to carry the Honda 2.3HP outboard motor so I bought a teak mount that goes over the stern rail. Hopefully, there is enough slop in it to accommodate the slight curvature of the rail. Just like replacing the missing stanchion screws, this won’t take too long but will be satisfying.
Exterior and interior wood
Ah, teak. I haven’t even given thought to what to do about the exterior teak. It needs cleaning and, at minimum, oiling. Varnish doesn’t seem like a good treatment in our very wet climate. I’ll ask others for their advice.
Inside the boat, the wood is in pretty good shape. There are a few water stains that I need to address by first fixing whatever is allowing water to leak into the boat. Once I resolve those small leaks, I can explore what to do to resolve the stains. Interior wood is a spare time kind of project that we can work on almost anytime.
Photo gallery


")
")


The failing coolant hose elbow is replaced but I am not happy with it. The part I ordered was an offset elbow. That’s what I got, but the offset is in the wrong direction. I installed it anyway but the elbow is contorted. I will look for some standard 1-3/8″ radiator hose elbows since these are used in a couple of spots on the Westerbeke W13 engine.